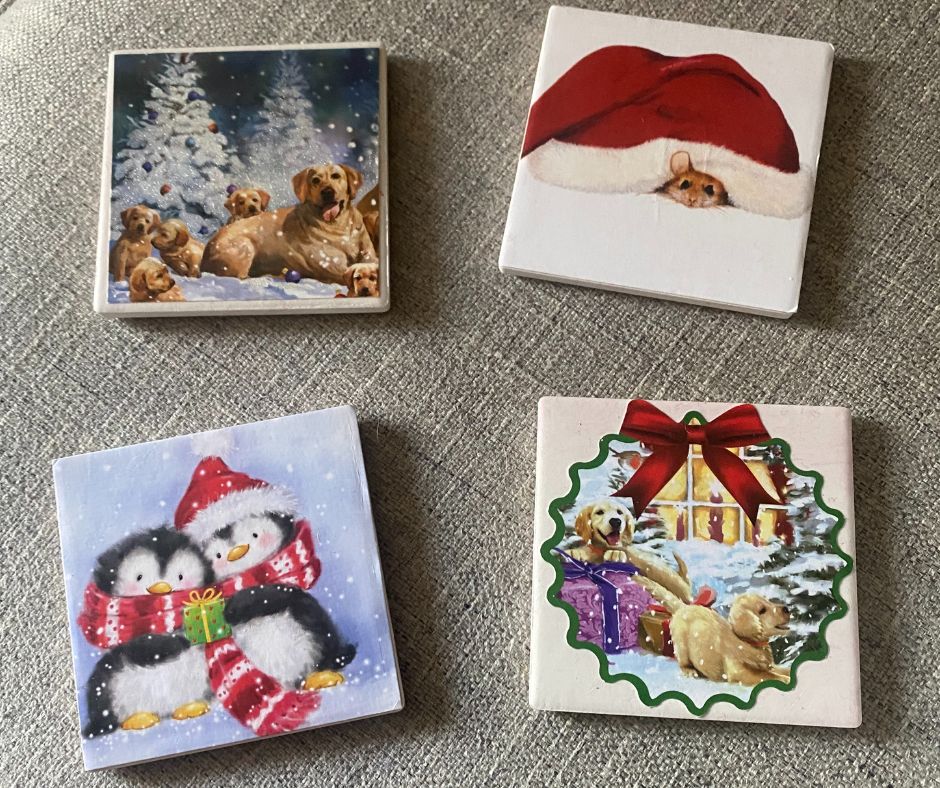
DIY Christmas Coasters
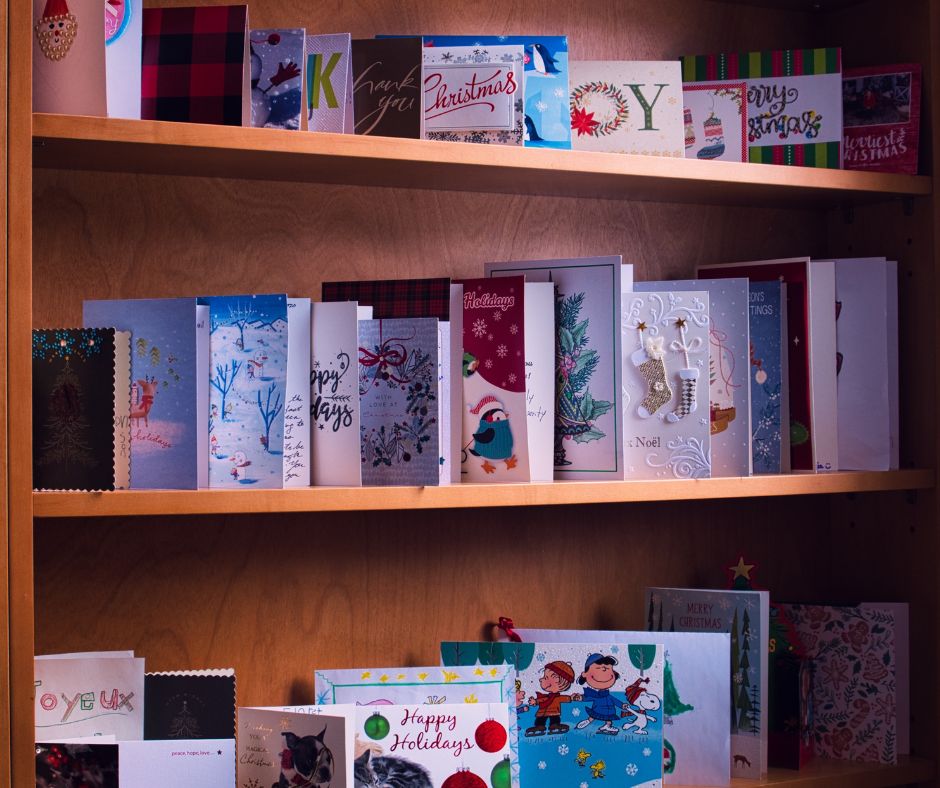
The tree is down, the lights are packed away, but the Christmas cheer doesn’t have to end just yet! If you’re like me, you have a stash of beautiful Christmas cards that are too pretty to throw out. Why not turn them into something functional and festive? This easy craft lets you preserve those cherished memories while creating something practical: DIY Christmas coasters!

Materials Needed
- Plain coasters (available at craft stores or online)
- A collection of Christmas cards
- Mod Podge (matte or glossy, depending on your preference)
- Scissors or a craft knife
- Foam brush or paintbrush
- Optional: Clear acrylic sealer spray for extra durability
- Pencil
- Ruler
Creating your DIY Christmas Coasters

Step 1: Choose Your Christmas Cards
Go through your pile of Christmas cards and pick designs you love. Look for ones with bold colors, festive patterns, or sentimental messages. If the card has writing on the back of the image, you can back it with a piece of white card stock to avoid transparency.
Step 2: Cut the Cards to Fit the Coasters
Using scissors or a craft knife, cut the card into a square or circle to fit the size of your coasters. For a perfect fit, place the coaster on the card, trace around it, and then cut slightly inside the line.
Step 3: Apply Mod Podge to the Coaster
Using your foam brush, apply a thin layer of Mod Podge to the top surface of the coaster. This will act as the adhesive for your card design.
Step 4: Attach the Card Design
Place your cut-out Christmas card design onto the coaster, pressing it down firmly to avoid bubbles or wrinkles. Smooth out any air pockets with your fingers or a ruler.
Step 5: Seal with Mod Podge
Once the card is firmly attached, apply another thin layer of Mod Podge over the top to seal the design. Let it dry for about 15-20 minutes, then add another coat. Repeat this process 2-3 times for a durable finish.
Step 6: Add Extra Protection (Optional)
For extra durability, especially if your coasters will be exposed to moisture, spray a clear acrylic sealer over the surface. Let it dry completely before use.
Step 7: Enjoy Your DIY Christmas Coasters!
Your DIY Christmas coasters are now ready to use! These coasters are perfect for adding a festive touch to your home or gifting to friends and family next year.
Tips for Best Results
- Work in a well-ventilated area when using sealants
- Apply thin, even coats of Mod Podge to prevent drips and bubbles
- Wait at least 24 hours before using your coasters
- Consider using themed sets of cards for a cohesive look
Frequently Asked Questions
How long do DIY Christmas coasters last? With proper sealing and care, these coasters can last for many years. Avoid exposing them to excessive moisture or direct sunlight.
Can I use photocopies of Christmas cards instead of originals? Yes! If you want to preserve the original cards, high-quality color copies work just as well for making coasters.
Should I use matte or glossy Mod Podge? Either works well – matte gives a more subtle finish, while glossy provides a shinier look. It’s purely personal preference.
How do I prevent bubbles in my coasters? Work slowly and carefully when applying both the card and Mod Podge. Use a credit card or similar tool to smooth out any bubbles gently.
Make It Your Own
The beauty of DIY Christmas coasters is their versatility. Use vintage cards for a nostalgic feel, modern designs for contemporary decor, or family photo cards for a personal touch. These make thoughtful gifts and help preserve holiday memories in a functional way.
This project is more than just a craft—it’s a way to recycle and cherish holiday memories in a functional form. Plus, it’s a relaxing and fun activity to enjoy during the post-holiday lull. Whether you use them for your morning coffee or as part of next year’s Christmas decor, these coasters are sure to keep the holiday spirit alive.

These are too cute – love them.